

This is the small Wacom Intuos (formerly Bamboo) tablet from Best Buy. It only cost $69.99, which is a lot cheaper than I expected. Though it's the most basic version of the tablet, without multi-touch gestures, I find that it still fits my needs quite well. Also, the extra $10 for the multi-touch function wouldn't be worth it because I already have that on my computer trackpad.


The unboxing experience was quite Apple-esque, with a streamlined black box that opened up twice before the actual contents were revealed. The first things inside were the actual tablet in a black cloth covering and the pen stylus.

Underneath the tablet were a packet of instructions, a CD for setup, and the USB wire. The instructions packet also had some extra parts, which I will explain later.


Back to the tablet, inside the black cloth bag, the tablet was wrapped in yet another layer of padding. I have to say I appreciate the planning and care of the product to make sure that it isn't damaged, and indeed the tablet itself was absolutely pristine upon removal.


Even the USB wires were capped.

Connecting the tablet to my computer was super simple and streamlined. The CD contained all of the instructions, and the Wacom website had been updated since the last time I had visited it. Downloading the driver was a snap, and within just five minutes, the whole thing was set up and ready to use.

Just for fun, I flipped through the pages of the information booklet and found out that the spare parts were for tablet customization. As you can see above, the pen holder flap is a bright blue (I had already changed the pen ring), so I decided to switch it out for the black one. The instructions for this were not very clear, so it took a while to figure out how to take the cover off. The pictures said to just slide it off, but it didn't mention that first you had to press down on the little arc, slide it out a little bit, then lift up.


That's all there really was to customize externally, but then it was time to change all the settings!

Above the silver drawing surface were four buttons, two on each corner. The pen also has two buttons on its side. The functions of each of these are customizable in the computer's "System Preferences." After about two days of fiddling around with all of the options, I finally found the ones that I liked best, and doing so made the whole experience of the tablet just that much better.

Finally, I tried drawing on the tablet. I started out on Autodesk Sketchbook Express because it is a pretty simple program for drawing. Immediately, there was a huge difference between drawing with the tablet and drawing with the trackpad. It didn't take long to get used to the tablet, but it was a bit of a struggle to familiarize myself with the concept of the entire tablet being the entire display, unlike trackpad drawing, which only records relative movement. Here's a comparison between using the tablet to draw on the left, and using a trackpad on the right. Though there's not a significant difference in the result, the tablet was definitely faster and smoother.
After trying the tablet out in a few more programs, such as Inkscape, I finally figured out how to use GIMP. GIMP is a program like Photoshop, and for the longest time, I couldn't figure out how to use it to draw, and almost deleted the app off of my computer. Luckily, I didn't, because it turns out all I had to do was ctrl+N to make a new document. What makes GIMP so much better than Sketchbook in my opinion is the variety in the brushstrokes and the versatility in the tools. After some more tweaking and basically changing all the default settings, everything was set up just right. For practice, I drew my friend's tumblr icon.


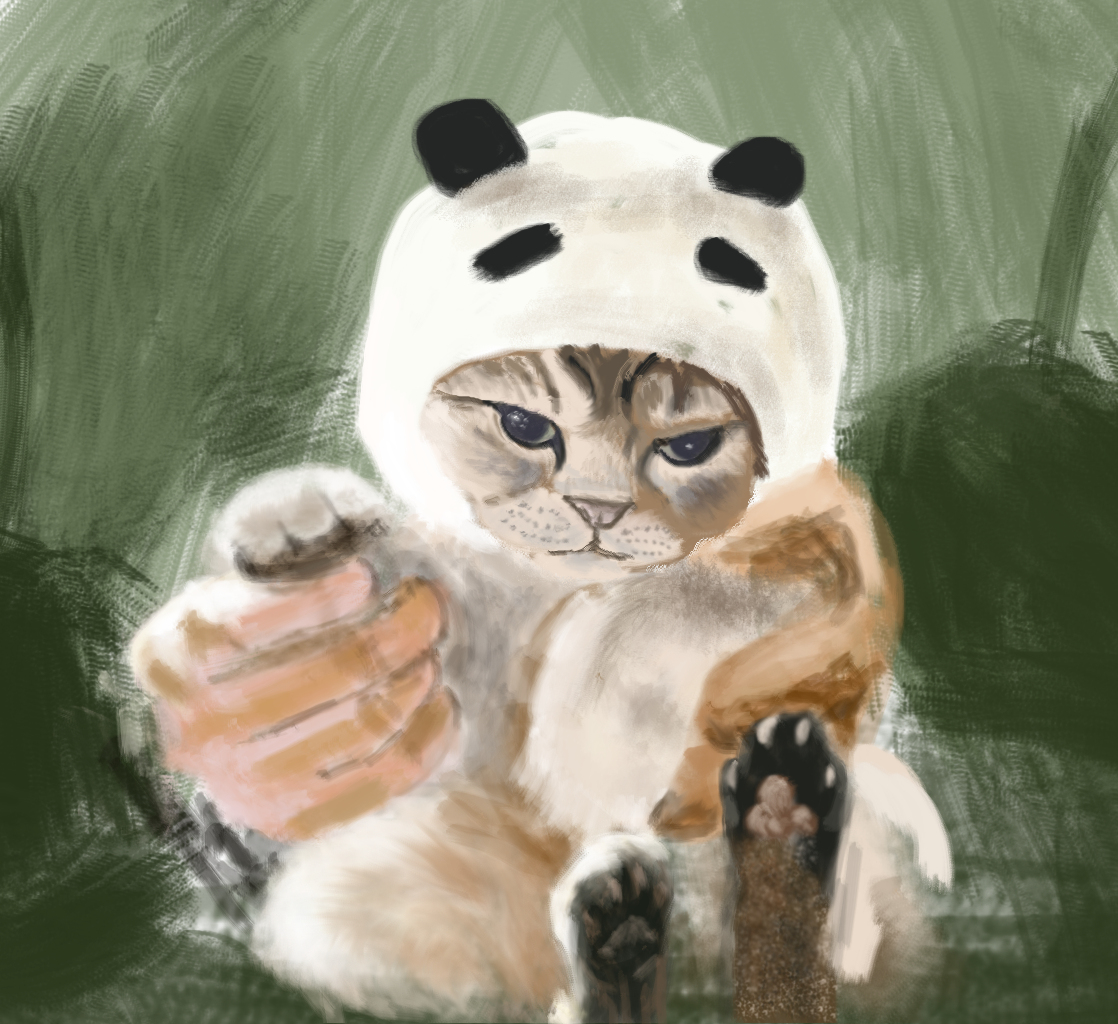
At some point I lost track of the layers and couldn't be bothered to fix it but here it is 90% finished and I'm gonna leave it that way, at least for now. On the tablet, I would estimate it only took about 4-6 hours over two days, but an actual oil/acrylic painting would have taken at least two weeks. My favorite part of this one is probably the paws, because they look the most realistic. Hopefully after a while I can develop a drawing style, but it's ok for now because I'm still learning. Also I can't draw humans or human body parts at all so those potatoes on the right are actually hands believe it or not. Here is the original picture I used to reference, if anyone's curious.
Overall, I am 110% satisfied with the tablet because it exceeded all my expectations in terms of price, ease of set up, and performance. I would definitely recommend anyone looking into trying digital art to get this tablet. I also recommend GIMP, which is a free drawing program comparable to Photoshop, or, if you're looking for a simpler program, Autodesk Sketchbook Express is available on the App Store for free. Fair warning, drawing with a tablet is quite addictive; I've basically spent the last two days looking through all of the settings, and drawing anything and everything. I wish I could just draw forever without having to worry about eating or sleeping or anything else. You'll be seeing a lot more little comics and sketches on this blog now for sure. If you have a picture or idea you'd like me to draw, or if you have any questions or comments on the tablet, leave them down below! Thanks for reading! ◊
No comments:
Post a Comment